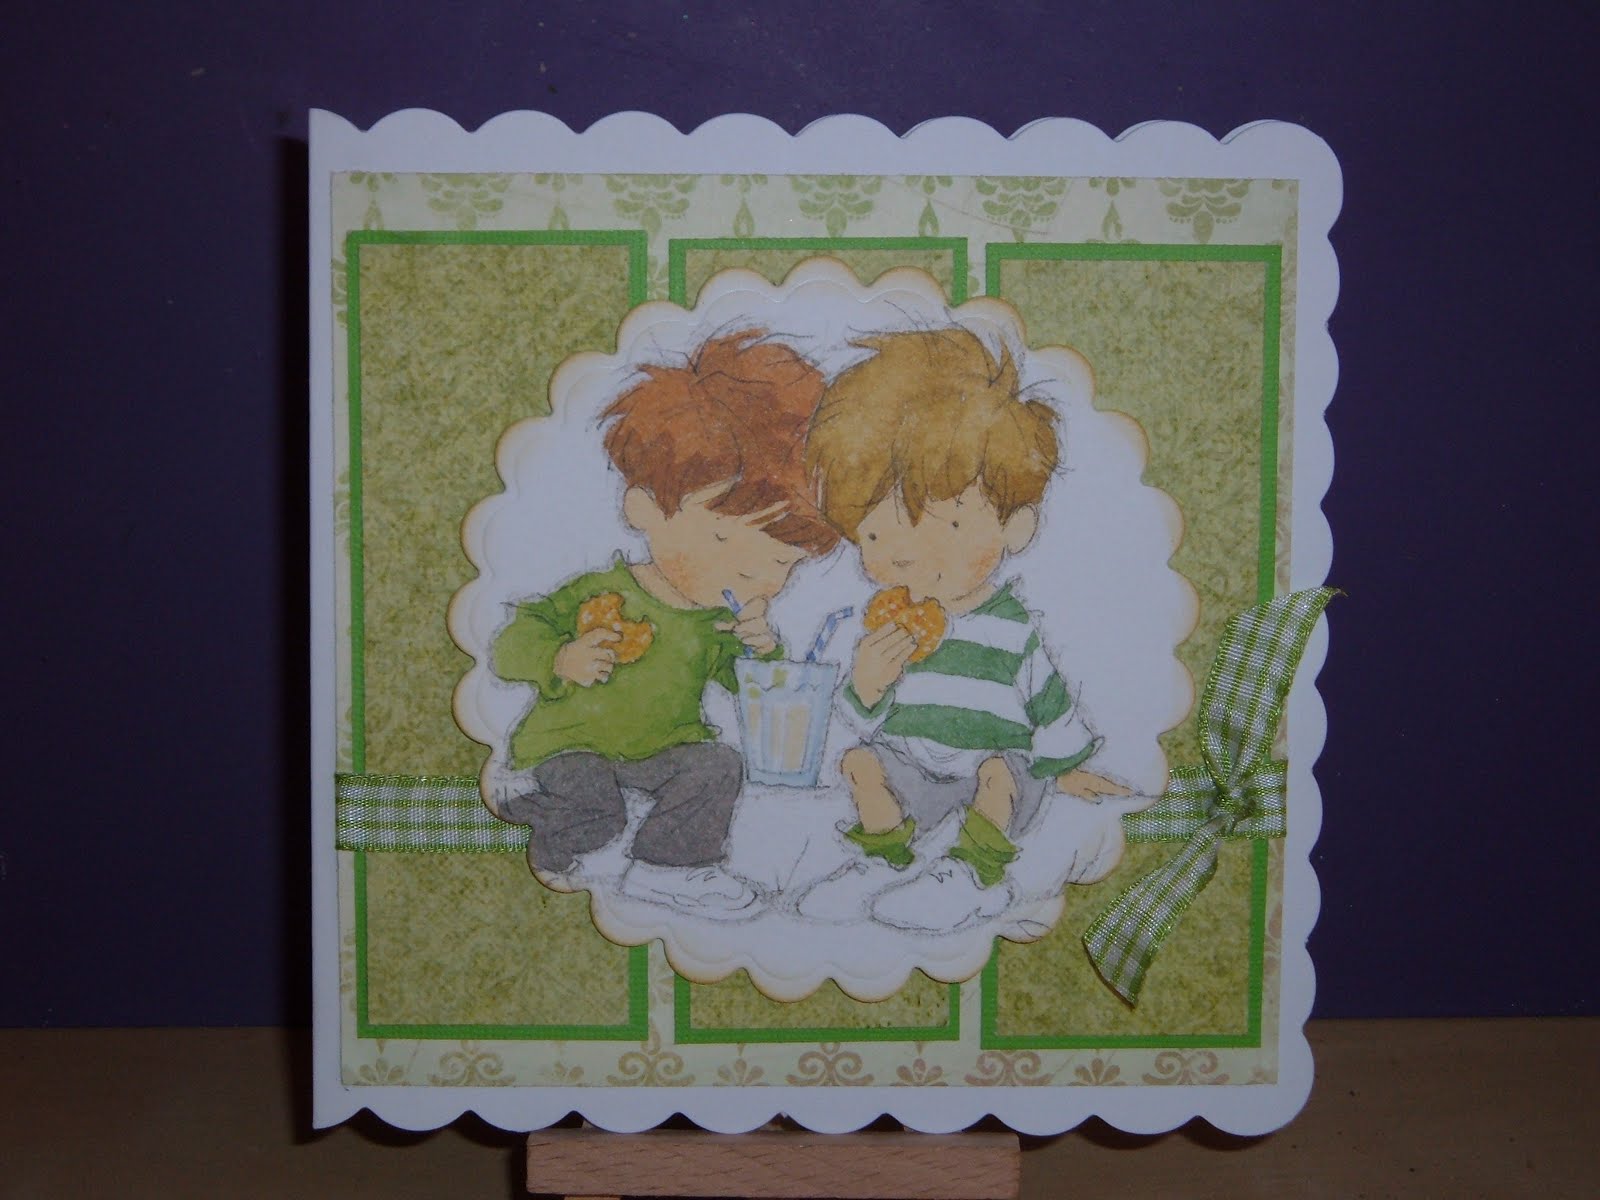
Wednesday, 29 June 2011

Lili of The Valley

Sorry for no posting for a couple of days.
Went to the hospital for a 'routine' procedure pn tuesday morning, expecting to be home for lunchtime !
Apparently I am NOT routine :) So came home today, Wednesday afternoon. Soooo tired after no sleep went straight to bed for a couple of hours. Feeling better now and have done a little crafting.
This card is my entry for the challenge over on the Lili of the Valley blog.
This is the original sketch
image
The card is a 6x6" scalloped card. The papers are BoBunny Anna Sophia and , I think, a Prima paper. Green gingham ribbon and a Lili of the Valley Dies cut. The has been cut with my Scalloped circle GoKreate dies using my Grand Calibur. The edges have been inked with green distress inks.

Off for some more sleep now.
Take care


Monday, 27 June 2011

Cards. How much to charge?

Hi

I have been blog hopping recently and found a couple of blogs where the owners sell their cards. Now I don't know about you, but I always find it difficult to say how much I want for a card. I don't want to be too expensive in case they never want another card from me, then again I don't want to be so cheap that it ends up costing me to make the card.
Anyway I have come across this blog, with prices for cards that to me seem extortionate. I know how much time and effort goes into some cards but I still feel this is just WAY too much.
This is the blog I am talking about.

I was just wondering what everyone else feels about this. I would appreciate your comments even just to set my mind at rest that I am not undercharging.

Thanks

Sunday, 26 June 2011

Fizzy Moon! !

Hi There

I have been playing with my Fizzy Moon goodies.

This first card is a Craftwork Cards card blank. The bracket edge was folded back on this and then background paper stuck on the front and the inside of the card. A circle cut out of Bazzill bling and then a scalloped circle of white cardstock. Both of these were inked around the edge and die cut using Nesties! Then a Fizzy Moon cardstock sticker was stuck on the circles. These were then attached to the card with foam pads. Four Craftwork Cards Card Candi in white were then stuck on after being inked to match the card!
This next card was really quick to make. I took a sheet of the 8x8" paper that had a design in  the bottom right hand corner. Trimmed to size for a 7x5" card, matted and layered onto coordinated bazzill cardstock. Stuck a Lets Party cardstock sticker onto the same blue card and then cut out and stuck on with foam pads. I then added the cardstock present sticker and glittery stars. Great when your kids want a card for a friend in 10 mins time !

Happy Crafting

Saturday, 25 June 2011

SWALK

Hi there

Today I have been playing with my SWALK stamps and my nesties! No surprise there!
This card is a 6x6" scalloped edge card. The backing paper is from a paper pack in the Fizzy Moon range. I Love this range! The stamp is 'Best Friends' coloured with promarkers. Die cut with Nesties Labels 5, pale lilac cardstock, again cut with Nesties Labels 5. Two strips of purple cardstock layered onto the card and then a flower covering the join. A little bit of bling top right and bottom left.
Again this is the 'Best Friends' stamp, coloured with promarkers. This time die cut with Nesties Eyelet Circle.
For a change I cut my background paper and matted onto purple cardstock, but put it on in a geometric pattern. I find this is a great way of using up the pieces of paper left over when you cut an 8x8 sheet up. The image was stuck on with foam pads and the obligatory bling in two of the corners!
Forgot to say the paper is glittered as well ! ! I also just edged the cardstock on this one lightly with Milled Lavender Distress inks.

Happy Crafting

Friday, 24 June 2011

Another Card!

Good morning

Just a quick post today. This is a card I made recently.
The card is an A5 landscape card in pearlescent cream, matted with navy card. The top paper is Anna Griffin the bottom paper is BoBunny double dot. A Martha Stewart border punch along the bottom, some cream lace coving the join in the papers. Some stunning blue ric rak ribbon at the top of the lace. The stamp is a Clarity stamp on pearl cream card die cut with Nesties label 1 and again matted on blue card. The scentiment was stamped on the same cream card and matted onto blue.
All these goodies, and more, available from The Stamp Pad in Saddleworth.

Happy Crafting

Wednesday, 22 June 2011

Playing / Gilding

Hi there

I have not made any cards or scrapbookpages for a few days, but i have been playing. Over the weekend I decided to get out my Gilding Flakes and have a play.
These are some gears and cogs which I cut on my Big Shot with the Tim Holtz Die. The top ones were cut with grungepaper and I am going to try and emboss these later before inking and generally distressing them. The bottom ones I cut from greyboard ( the sort that comes on the back of notepads or packaging). I started off by cutting the board to slightly bigger than the piece I wanted to cut, then I used double sided sticky and stuck this on one side to the board. Then I ran this through the Big Shot. When I had taken all the excess pieces off I removed the other side of the sticky and applied my gilding flakes, I used a mixture pot of flakes.
At some point I will put these onto a card!

These toppers were made with a double sided peel off. The butterfly on the right is the peel of stuck to white card and then guilded, when cut out will be put onto a card. The one on the left was the waste from the peel off! I had cut around the image I was going to use whilst it was still on the peel off sheet. I then stuck the waste onto white card again. I removed the protective backing paper and guilded the image. When this has been cut out and stuck onto a card, you will have had 2 images for the price of one!

White card, Giliding Flakes and double sided peel offs and sticky sheels all from The Stamp Pad

Happy Crafting

Tuesday, 21 June 2011

Difficult Looking card!

Hi There

Todays card is one which, when I first looked at it, thought it may take me a few weeks to do! ! However once you have mastered the masking technique it does become easier. I won't say really easy because then I will make a hugh mess of the next one!
This is the one I first did on a workshop at The Stamp Pad with the amazingly talented Gwen.
The first thing we did was to stamp the central postage stamp image (which was a Clarity Stamp), then mask this off and stamp other postage stamped images masking each one off as it had been done to prevent overlapping stamping. The we reversed the maske in that we cut out the central image so that we could stamp through the mask so it came out inside the postage stamp. then we inked the card with distress inks. Matted and layered paper and black cardstock and used a fabby inverted corner punch. A wrap of ribbon and the mounted onto mushroom grey pearly cardstock folded to give an A5 card.
Once I got into the stamping and masking I found it really thereputic and really enjoyed myself, UNTIL it came to putting the finishing black squares on! They are just 2mm square and come as a full sheet, of peel offs. This was fiddly and seemed to take forever. I just could not get them straight, difficult to hold even with tweezers, one craft thing I have decided I can live without.
Great card and so easily be altered for male or female,  young or old. Just tailor the images in the picture to the persons favourite hobby or pastime.

Happy Crafting